My Claude Code Setup For Remote Development
I've been experimenting with AI-assisted development tools for the last couple of weeks, and Claude Code has pretty much become a permanent fixture in my workflow at this point. I've been testing a few different scenarios with running it - one on my local machine, and another running Claude on my Arch Linux server back in my office. I tend to work on multiple projects during the same day, so finding a solution that worked for both was what I was after. I trialed a lot of different shells and connection tools, but finally found a group of tools that I think works pretty well for me, so I wanted to share my setup.
The Key Problems I Found
Claude has two modes basically: normal and planning mode. Planning mode is used for scoping out big chunks of work and then coming up with a master plan that hopefully can be started with a fresh context window and be completed mostly in one go.
What I found is that Claude can often restart easily from a crash if it's in normal mode, but doesn't seem to as gracefully recover when it's in plan mode. And it's not just outright crashes that can bork it, but also a connection, like ssh, going down. So the first issue I hit was how to get Claude to keep going even if it occasionally crashes.
Other problems I had were that whenever my network connection died or I closed my laptop lid, I'd lose my network connection and also my Claude code session. So that was one of the pain points I knew I had to try and solve if this were to be my day to day workflow.
Using /rename
Claude Code has a built in /rename command that lets you manually (re)name a session. This is useful for allowing you to resume a session at a future time, and not having to remember what you were doing in it or the exact session GUID that it gives you when you quit. I also suspect it sort of locks in a copy of the context when you do it, so I look at it as my own personal 'save point' like I did when I used to play computer games. I used to manually add a name, like "/rename Refactor Codebase" - now I just type "/rename" and let it figure out the name on its own using its fancy AI brain.
So making good use of "/rename" mostly solves the scenario where Claude crashes on me and I want to resume later. But I tend to try to get out of plan mode as soon as I can as I feel normal mode is easier to restart if something goes wrong. I've gotten into a good habit of finishing all my sessions mostly with a "/rename" command before I CTRL-C and finish for the day.
Running Claude On A Server
I have a few projects that simply can't run on my Macbook Air, one of which is an RNA pipeline I've been building called Chimera. It needs at least 64GB of RAM, and chews through processors like I chew through doritos, so running it locally isn't an option. So one of my pain points was figuring out how to access Claude code on my remote server in a way that was stable and repeatable.
Using Tailscale
I come from the era where if you wanted access to a remote server you would just open up a few holes in the firewall and let an SSH connection through. And I did try that at first. But right away my server was flooded with random SSH connections trying to hit it, so I decided maybe there were better solutions now.
Around the same time, my friend Tony pointed me at Tailscale. Tailscale is an application that uses a lot of the same VOIP technology like STUN, ICE, and TURN to basically intelligently allow connections between your own machines.
So for my scenario, I installed Tailscale on my Macbook Air, and also on my server. Tailscale basically opens a connection to a public server on the internet (Tailscale's servers) that all your machines can then use to basically talk to each other. If you need to open a ssh port, for example, Tailscale coordinates with both sides to open the port and allow the connection over their tunnel I presume. This also solves the case where the IP address at home can vary, which most home based consumer IPs tend to do from time to time. In that case, Tailscale automatically keeps track of the public IP and makes sure its tunnel still works.
So in my case, whenever I want to access my own server remotely, I just use:
ssh duane@bagendAnd that will always resolve to my server back in Valencia (bagend of course being where Bilbo and Frodo lived in the Lord of the Rings).
So now I solved two of my real pain points: how to continue using Claude when it crashes on its own, and how to access Claude on a remote machine.
There are still issues with this setup though. SSH is a bit unstable when you're on the road, and an SSH session crashing is just as painful as Claude itself crashing. So the next pain point I tried to solve was making it so my SSH connections were persistent and resilient to the actual network layer going down.
Enter The 'Mosh' Pit
Mosh is the main piece that solved the connection-dropping problem for me, and it's the reason I don't lose Claude sessions now every time my WiFi hiccups. It's basically SSH's more resilient cousin that uses UDP (connectionless protocol) instead of TCP (which requires active TCP connections), handles roaming between networks gracefully, and doesn't care if your connection drops for minutes at a time. You can close your laptop at one café, open it at a different one three hours later on a completely different network, and mosh just picks up where it left off. No dead sessions, no frozen terminals, no staring at a hung prompt wondering if you should kill it.
The way it works is that Mosh maintains state on both the client and server side, so brief network interruptions — or even fairly long ones — don't kill anything. It just shows you a little indicator that it's waiting for the connection to come back, and when it does, your connection seems like it was there the whole time. Combined with Tailscale handling the network routing, I can simply do:
mosh duane@bagendfrom literally anywhere and get a connection that survives even if my Wifi connection doesn't.
That said, Mosh on its own only solves half of the persistence problem - if the Mosh session itself eventually dies — say your laptop runs out of battery, or you explicitly disconnect — anything that was running in that session dies with it. So what was needed in addition to network persistence (which Mosh supplies) is also session persistence.
Mosh requires both a server and a client install, brew locally and whatever distrubtion package your server might need too.
Enter Tmux
If Mosh handles the network persistence problem, Tmux solves the other half of the persistence problem. Where Mosh keeps the connection alive through network interruptions, Tmux keeps the actual terminal sessions alive on the server regardless of whether anyone is connected at all. Even if Mosh disconnects, or even if I shut my laptop down entirely, the Tmux sessions on my server keep running. Claude Code keeps doing its thing, hopefully churning away in the background, and I can simply come back hours later, attach to the session, and everything is exactly where I left it.
So at this point to use both together, it's mostly:
mosh duane@bagend # opens a connection to the server
tmux attach # connects to the active tmux session, i.e. where you left off
Together Mosh + Tmux offer both network and session persistence. Like Mosh, tmux also requires a server component to be installed, likely via whatever package manager you normall use.
Multitasking with Mosh + Tmux
I'm working on four or more projects right now — Chimera (my genomics pipeline), my static site generator Crossroads, OpenDCAD (a 3D model rendering engine), my typical client work, and a couple of other codebases — so what I needed was a way to work on any of a group of sessions all at the same time, or any subset of them.
To handle that, I set up a script that auto-starts a few named tmux sessions on the server. Think of it like an SSH connection that's already active, even if you've never connected to it. At any point in time I can simply use mosh to connect to my server, and use 'tmux attach' (or rather tmux attach -t [name]) to attach to whatever project I want to work on.
#!/bin/bash
start_session() {
    local name="$1"
    local dir="$2"
    tmux has-session -t "$name" 2>/dev/null || tmux new-session -d -s "$name" -c "$dir"
}

start_session  "chimera"       "/mnt/research/genome"
start_session  "opendcad"      "/mnt/research/opendcad"
start_session  "polymerase"    "/mnt/code/polymerase"
start_session  "crossroads"    "/mnt/code/crossroads"
This runs whenever the server boots up, and each tmux session is set to start in the appropriate working directory for each project.
Notice that I explicitly gave each session a name, which makes it easy to attach to each one on its own. To attach to my SSG generator codebase, I can just use:
tmux attach -t crossroadsClaude Code can be running in any or all of them, churning away on whatever I've asked it to do, and I attach and detach at will without losing anything. The sessions are basically permanent, other than a power cycle or a forced reboot.
One important aside: you don't want to explicitly type "exit" in a tmux session, as that will take down the tmux session and prevent future attaching. So you have to retrain yourself to type tmux detach at the end of each session instead of exit. So when I want to close a browser tab that reflects an active tmux session, I typically do:
tmux detach # session is now free
exit # exit the shell, after which I can close the tab
You can attach to thet same session from multiple devices, and that's actually going to be in the content of a future post about using my iPhone to poke Claude Code periodically.
Hooking It All Together
So my complete working stack is Tailscale for the network discovery, Most for a resilient connection at the network layer, and Tmux for persistent shell sessions. The last pieces were just making it ergonomic to actually use day-to-day.
On my MacBook I'm using Ghostty as my terminal/shell, which I've been pretty happy with. I wrote a tiny script called begin that renames the terminal window and attaches to a named tmux session via mosh in one shot:
#!/bin/bash
if [ -z "$1" ]; then
echo "Usage: begin <session-name>"
exit 1
fi
echo -ne "\033]0;$1\007"
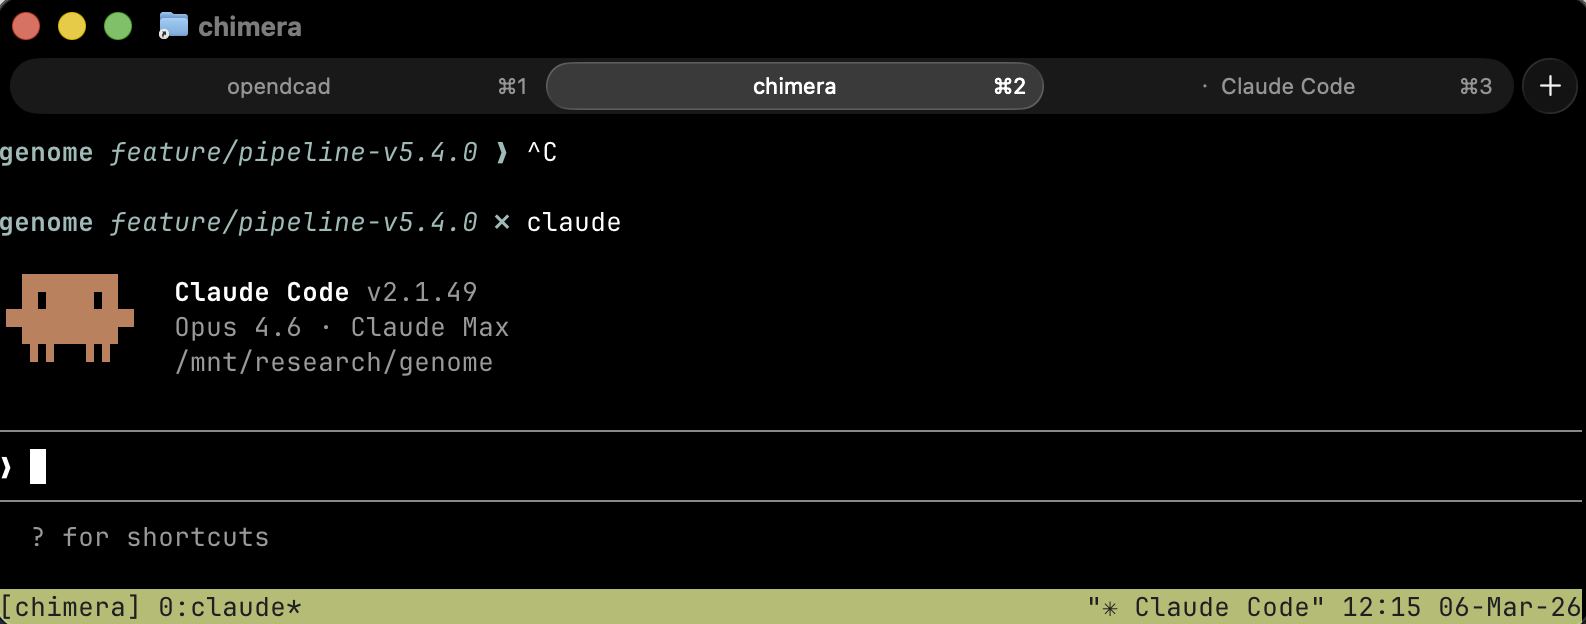
mosh bagend -- tmux attach -t "$1"This little shell script also sets the name of the tab to be the project I'm actually working on. So if I type begin chimera I end up with a tab called chimera with an active Claude claude session or at least the active working directory live on the server.
So my actual workflow is: open Ghostty (or a net tab), type begin chimera, and I'm in. I typically have three or four Ghostty tabs open, each attached to a different tmux session on the server, each potentially running its own Claude Code instance. And if I slam my laptop shut and hop on a train, everything keeps running on my server, bagend. When I open it back up, mosh reconnects and I'm right where I left off.
The whole chain is: Ghostty → begin script → mosh (via Tailscale) → tmux session on bagend → Claude Code. Each layer solves one specific problem, and they stack together cleanly without getting in each other's way.
Final Thoughts
This whole setup took about two weeks of trial and error to get right, which sounds like a lot but most of that was me going down dead ends with other approaches before landing on this combination. The end result is pretty clean and results in a workflow that lets me run Claude Code sessions across four or more projects on a dedicated Linux server and access them from anywhere on any device without ever losing a session, even if I close my laptop or the network goes down.
Nothing here is particularly fancy or novel. Tailscale, mosh, and tmux have all been around for a while, and I'm sure plenty of people are using them in similar combinations. But it took me a while to figure out that this specific stack was the right answer for AI-assisted development specifically, where session persistence isn't just a nice-to-have but pretty much a requirement. If you're using Claude Code or any other long-running AI tool over a remote connection, this is the setup I'd recommend starting with.