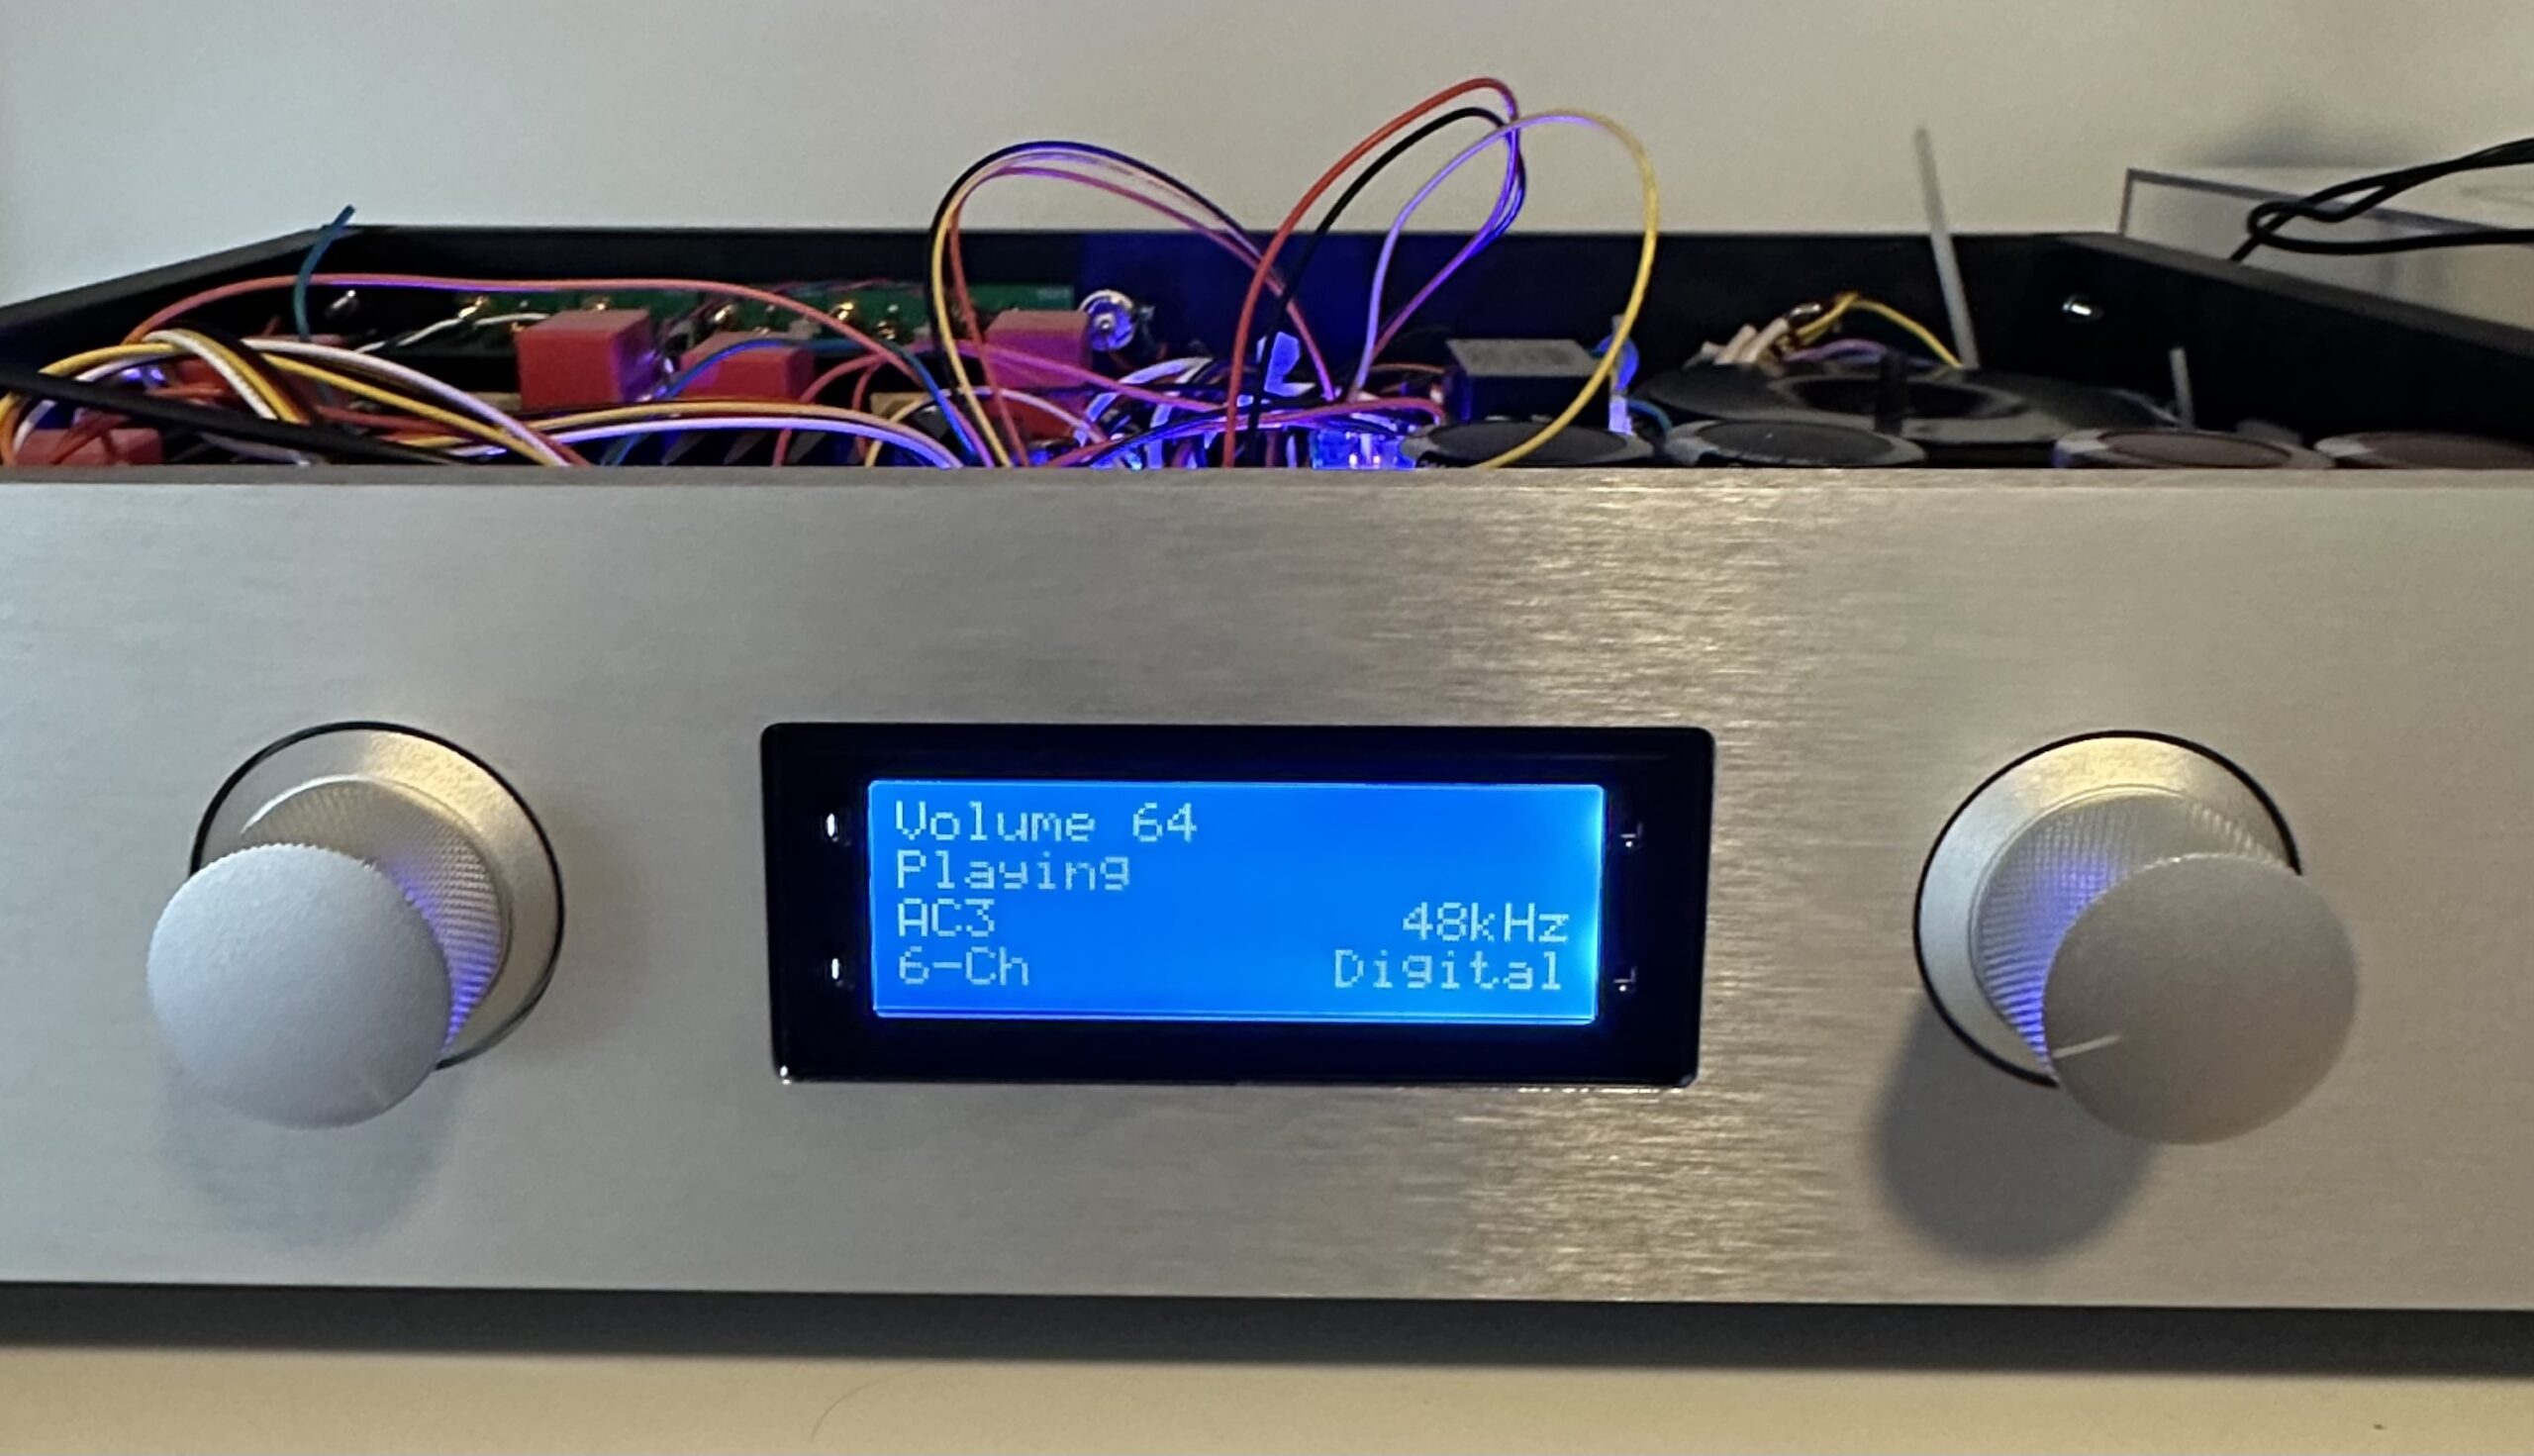
Building A Hi-Fi 5.1 Amplifier

In the winter of 2022, I decided to finally realize a 20 year dream by constructing, mostly from scratch, an audio amplifier to use in my living room. Back in my university days, I remember this guy in residence built a simple tube amplifier over the summer and brought it back to residence the following year. Everyone was in awe that something a person could make at home could sound so good.
Since around that time, I also have been dreaming about building a tube amplifier, and even bought most of the components to build a tube amplifier system. The problem is of course that I am no longer a starving student, and listening to only two channel audio, while great in itself, doesn’t really fit with how I mostly use my current living room music setup or my love for movies, which are often in 5.1.
So I decided to abandon (or at least postpone for a few years) the tube amplifier build, and instead focus on building a high fidelity 5.1 system that I could use at home.
I have my master’s degree in electrical and computer engineering, but almost all my real world experience in engineering has been in software. I remember classes on transistor amplifier design and various other difficult subjects, but we never really broke past the theory stage. So I really have no experience as an electrical engineer.
So while my main goal was to end up with a great audio system that I made myself, I also wanted the process to bring me up a few rungs on the engineering ladder in terms of what I feel like I’m able to do. With that in mind, I knew I would have to do a ton of research, and live with the idea that the entire process would be two steps forward followed by one or more steps back, over and over.
These posts document the process and end result of my build. While most of the build is in the rear view mirror now, I’ll try to point out mistakes I made along the way and potential pitfalls for other people attempting this build. At some point in the near future, I’ll post all the PCB designs on Github along with the software I wrote to control it all. But until then, follow along with these posts if you’re interested in the process or the build.
If you want to receive email updates whenever I post new content, feel free to add your name to the mailing list below for updates – you can remove yourself at any time:
Continue Reading
The sections that aren’t links yet are sections I intend to write, but haven’t gotten around to it yet. So over the next few weeks, I’ll slowly complete each one as I do a new build and write about it.
a { color: #369; }- Overview
- Project Goals
- Power Amplification
- The Microprocessor
- 5.1 Digital Decoding
- Connectors and Interconnects
- The Designs & Build
- Chassis
- IEC Input Connector & Fuse
- Primary Safety Connection
- Main Power Transformer
- Rectifier Board
- Fuses and Capacitor Bank
- Speaker Binding Posts
- LM3886 Single Channel
- LM3886 Dual Channel
- Heatsinks and Power Amp Installation
- Power Amp Cables
- Speaker Cable Connections
- Front Plate & Knobs
- Digital Power Supply
- Opamp Power Supply
- Digital Decoder + DAC Board
- STM32 Microprocessor Board
- STM32 Programming
- Post-DAC filters
- Analog Inputs
- Channel Selector Board
- Final Assembly
- PCB Interconnects
- Ground Testing
- Basic Audio Testing
- SPDIF Connections And Tests
- Have A Listening Party With Friends